CSS Selectors 101: Targeting Elements with Precision
Aspiring Full Stack MERN Developer & DSA Enthusiast | Passionate about coding, problem-solving, and scalable web applications | Turning ideas into reality | JavaScript, React, Node.js — learning by building real-world projects 🚀
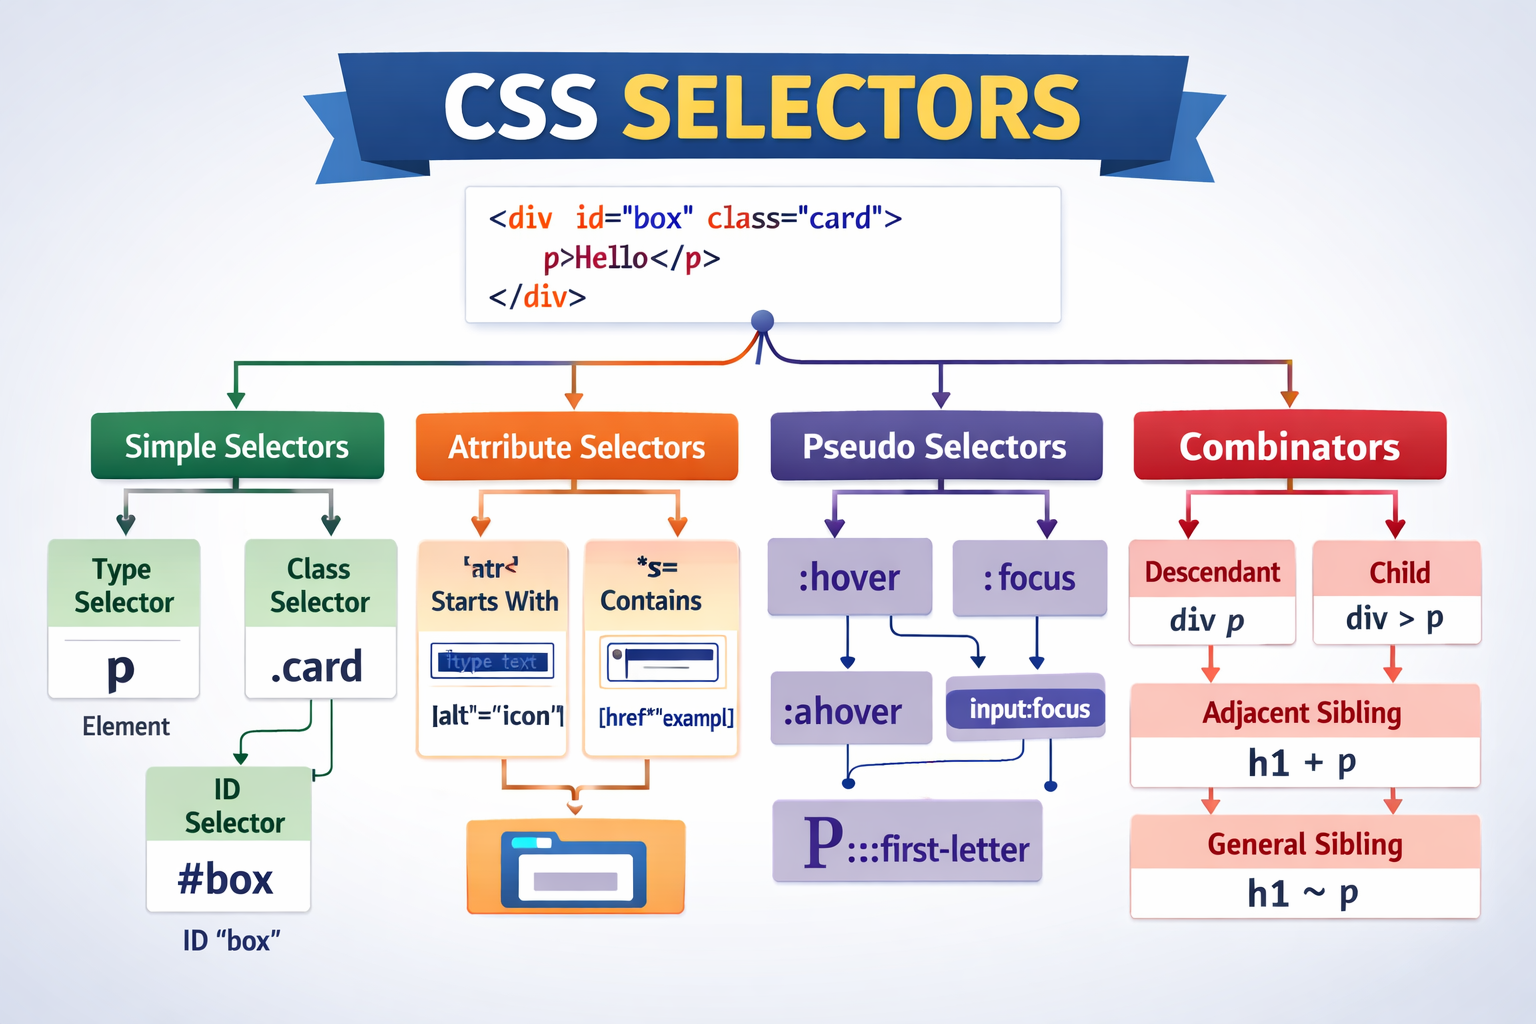
CSS on its own doesn’t do anything magical. It needs clear instructions about which HTML elements should be styled. That’s where CSS selectors come in.
Selectors are simply the ways we choose elements on a webpage so styles know exactly where to apply.
Think of selectors like addressing people in the real world.
Sometimes you say “everyone”, sometimes “people wearing blue shirts”, and sometimes “John from apartment 402.”
CSS selectors work in a very similar way.
Why CSS Selectors Are Needed
When a browser loads a webpage, it sees a big tree of HTML elements. Without selectors, CSS would have no idea which element should get which style.
Selectors help CSS:
Target specific elements
Avoid styling everything blindly
Keep designs clean and manageable
Reuse styles efficiently
Selectors are the foundation of CSS. Everything else—layouts, animations, responsiveness—depends on selecting the right elements first.
Element Selector
The element selector targets all elements of a given type.
If you write a rule for p, it applies to every paragraph on the page. This is like announcing something to everyone in a room.
Example
HTML
<p>This is paragraph one</p>
<p>This is paragraph two</p>
CSS
p {
  color: blue;
}
Result
Both paragraphs turn blue.
Element selectors are simple and powerful, but also very broad. Use them when you truly want all elements of that type to look the same.
Class Selector
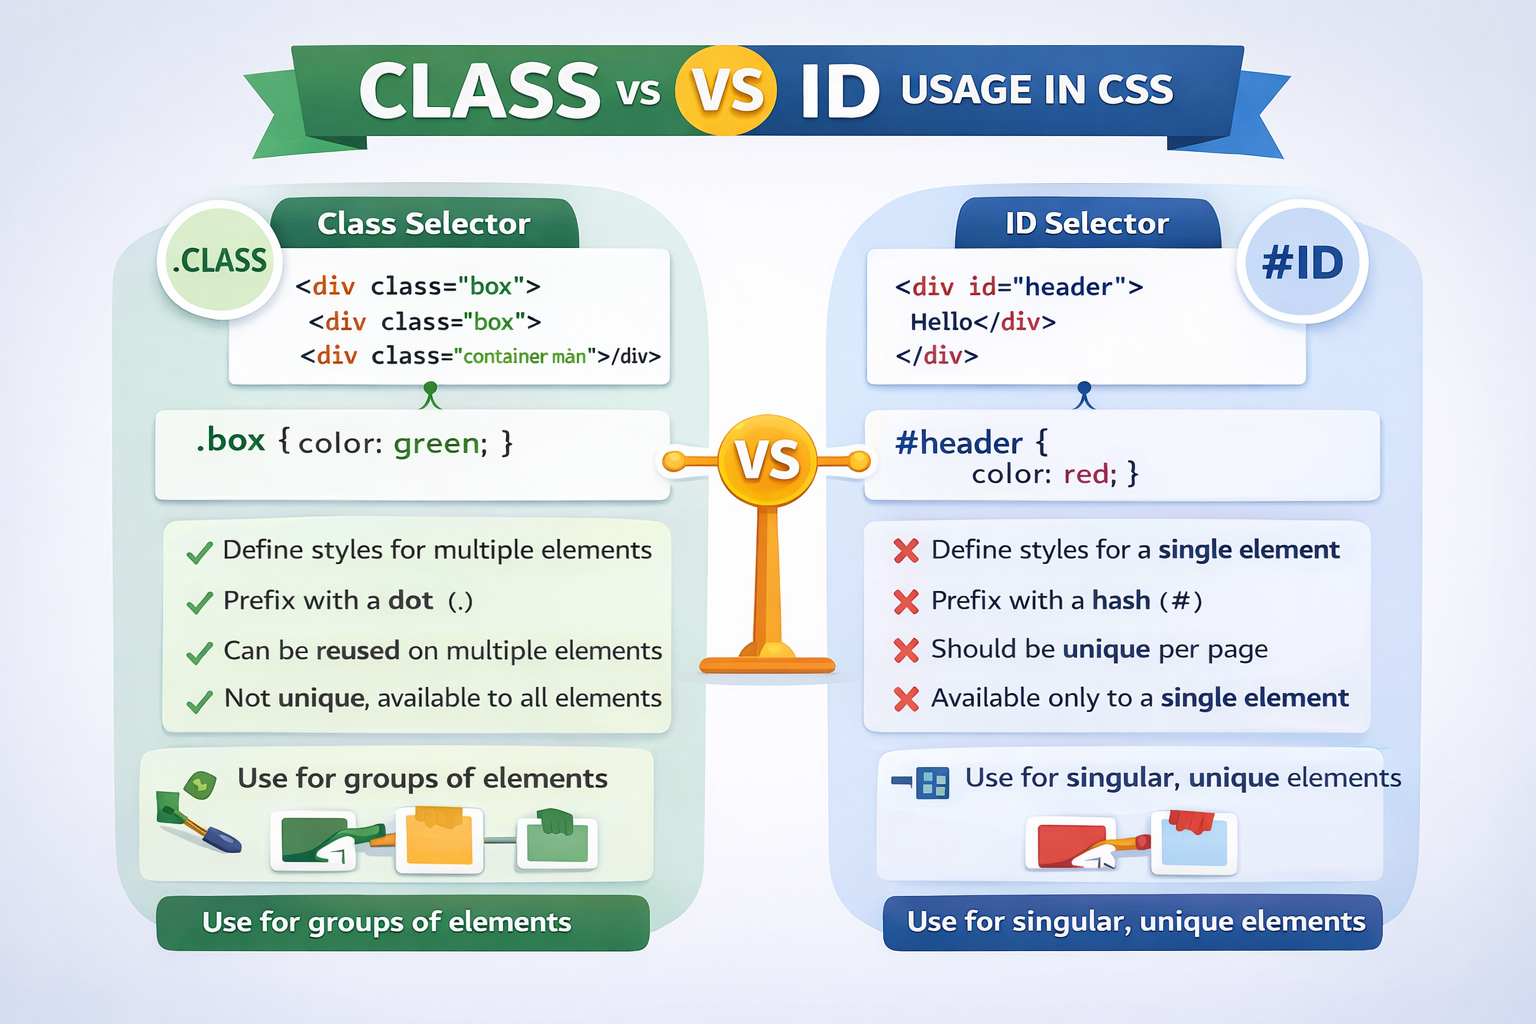
The class selector is more specific. It targets elements that share a common label (class).
This is like saying “Everyone wearing a blue badge, please step forward.”
Multiple elements can share the same class, and one element can have multiple classes.
Example
HTML
<p class="highlight">Important text</p>
<p>Normal text</p>
<p class="highlight">Another important line</p>
CSS
.highlight {
  background-color: yellow;
}
Result
Only the paragraphs with class="highlight" get a yellow background.
Classes are the most commonly used selector in real-world CSS because they balance flexibility and control.
ID Selector
The ID selector is used for a single, unique element on a page.
This is like calling out “John Smith from apartment 402.” There should only be one.
Example
HTML
<h1 id="main-title">Welcome</h1>
<h1>Another Heading</h1>
CSS
#main-title {
  color: green;
}
Result
Only the heading with that specific ID turns green.
IDs are powerful but should be used sparingly. They are best suited for unique sections like headers, footers, or specific components.
Class vs ID in CSS :
Group Selectors (Styling Multiple Targets Together)
Sometimes different elements need the same styling. Instead of repeating rules, you can group selectors together.
This is like saying “Managers, developers, and designers—please attend this meeting.”
Example
CSS
h1, h2, p {
  font-family: Arial, sans-serif;
}
Result
All headings and paragraphs share the same font.
Group selectors keep CSS clean and DRY (Don’t Repeat Yourself).
Descendant Selectors (Targeting Inside Elements)
A descendant selector targets elements that live inside another element.
This is similar to saying “Everyone inside Building A, raise your hand.”
Example
HTML
<div class="card">
  <p>This paragraph is inside the card</p>
</div>

<p>This paragraph is outside</p>
CSS
.card p {
  color: red;
}
Result
Only the paragraph inside .card turns red.
Descendant selectors are extremely useful for structuring layouts and components.
Basic Selector Priority
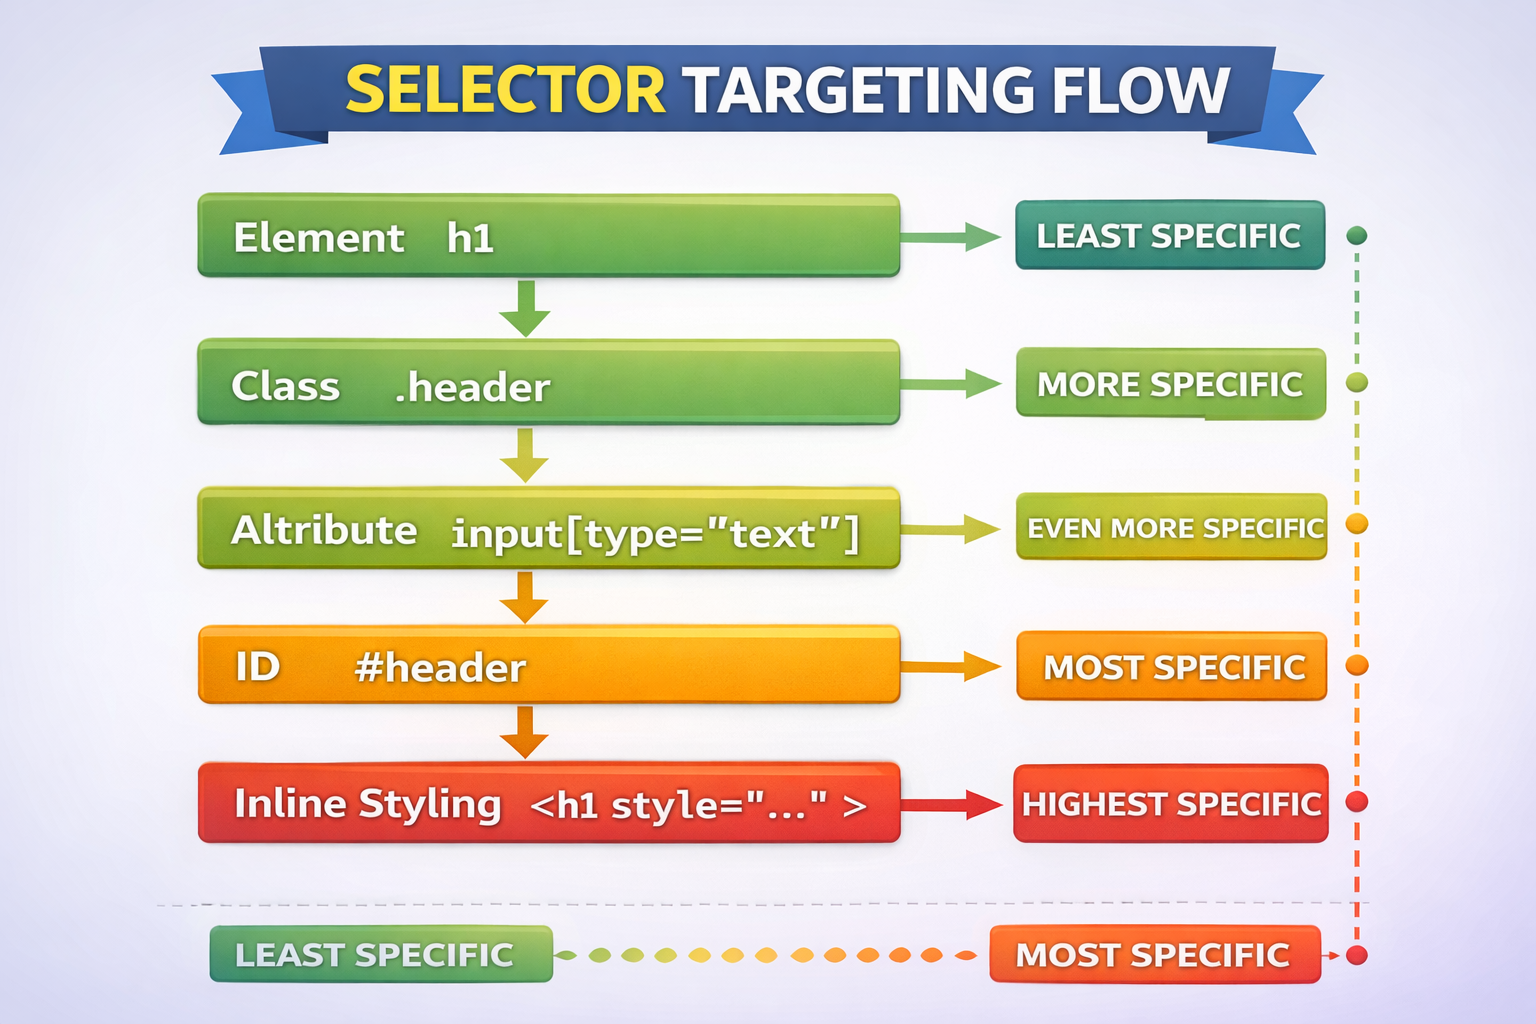
When multiple selectors target the same element, CSS chooses the most specific one.
At a very high level, priority looks like this:
ID selectors override class selectors
Class selectors override element selectors
Example
p {
  color: blue;
}

.text {
  color: red;
}

#special {
  color: green;
}
An element with id="special" and class="text" will appear green, because ID selectors have higher priority.
You don’t need to master specificity yet—just remember that more specific selectors win.
Before & After Styling Example
Before CSS
<p>Plain text</p>
<p class="note">Important note</p>
After CSS
p {
  font-size: 16px;
}

.note {
  color: orange;
  font-weight: bold;
}
Result
All paragraphs get a base style, while .note stands out visually.
This layered approach is how real-world CSS is written.
Conclusion
CSS selectors are not just syntax—they are how you think about your webpage.
They help you decide what matters, what’s shared, and what’s unique.
Once you understand selectors, the rest of CSS becomes far less intimidating. Layouts, animations, and responsive designs all build on this single idea:
choose the right element, then style it with confidence.


